This post may contain affiliate links. Please read my disclosure and privacy policy.
This post may contain affiliate links. Please read my disclosure and privacy policy.
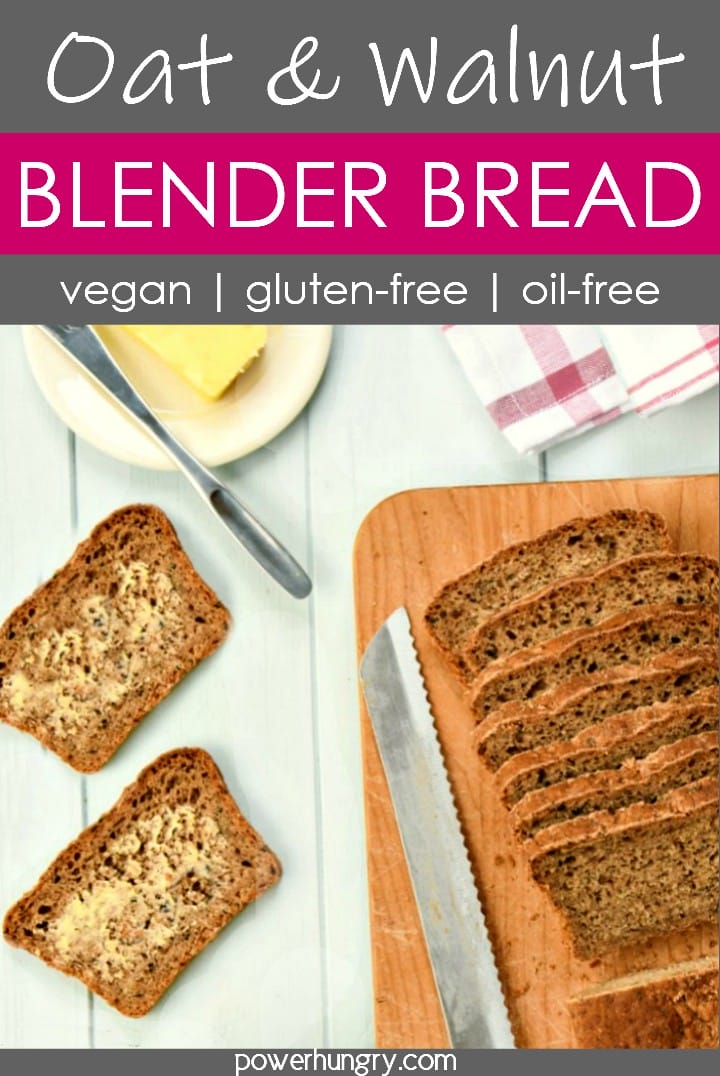
Easy oat walnut blender bread, made in mini loaves (or muffins). The breads are oil-free, gluten-free, flourless, and 100% delicious.
Easy Oil-Free Gluten-Free Vegan Bread
Good morning, everyone, and Happy Halloween!
My 6th-grader doodle is costumed (Han Solo; I must resist bragging about the felt vest and pleather holster I constructed, as well as my mad hot glue gun skills, which made this costume happen) and off to school. My costume today is clown, made possible by a sudden bout of allergies that have me bright nosed and sneezing with hilarious force.
In the spirit of this haunting day, my recipe du jour is bread. Because bread is terrifying.
For example, a participant in my spin class recently confessed that she is afraid of bread. She’s been reading horror books at night, all of which detail the misery and havoc it causes to any and all. It can make adults and children quadruple in size, deform their bellies, make them vulnerable to other ailments and poisons. At worst, she confided, bread kills.
I was so shaken by her tale of doom that I went home and ate two pieces of toast.
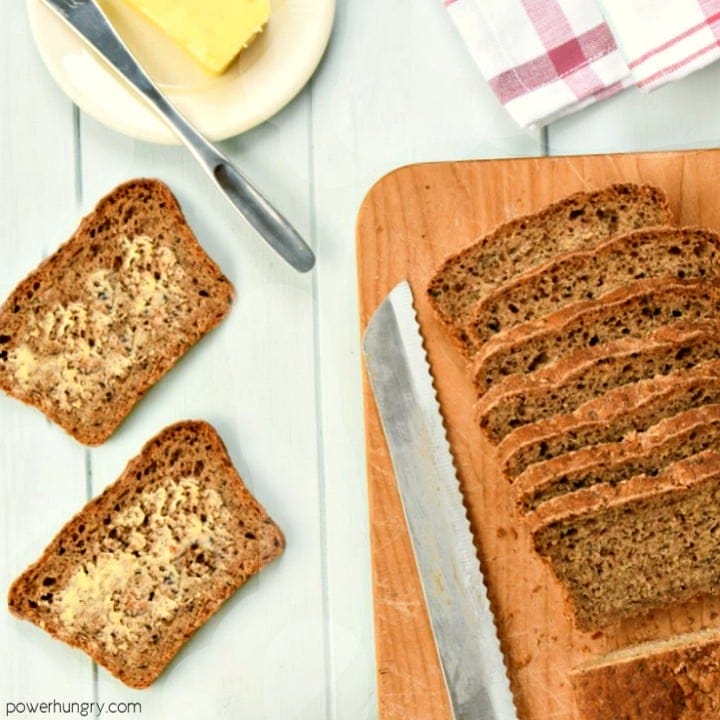
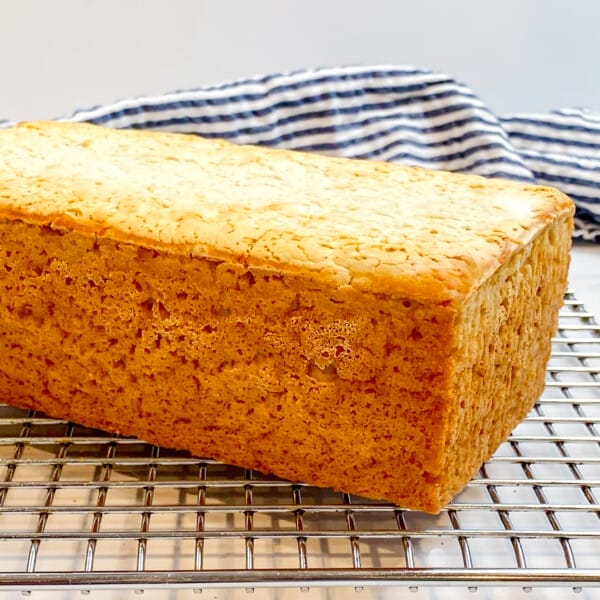
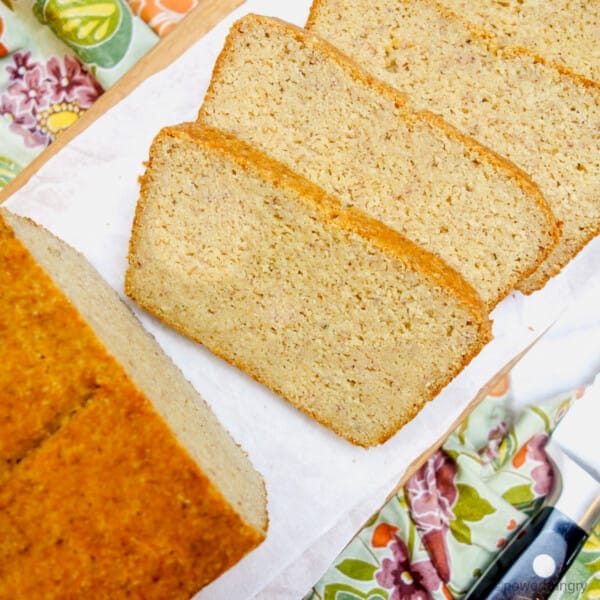
They were made from this loaf: my Oat Walnut Blender Bread.

Bread shouldn’t be a four letter word. Especially since it’s five letters :). I eat bread every day (most typically slathered with nut butters, plant butter, or some variety of homemade hummus).
You can, too. If I don’t replenish with carbohydrates after spin class or a long run, I am for more frightening than bread can ever be. Just ask my husband and son for eye-witness accounts!
True, not all breads are created equal, but such is true for almost every food category. I love making small batches of breads and muffins to control what goes in. However, I am also impatient, so fast and easy are key.
Recipe Benefits
- vegan (egg-free, gluten-free)
- gluten-free
- oil-free
- quick and easy to make
- high in fiber
Baking Tip: Make the Loaves Small
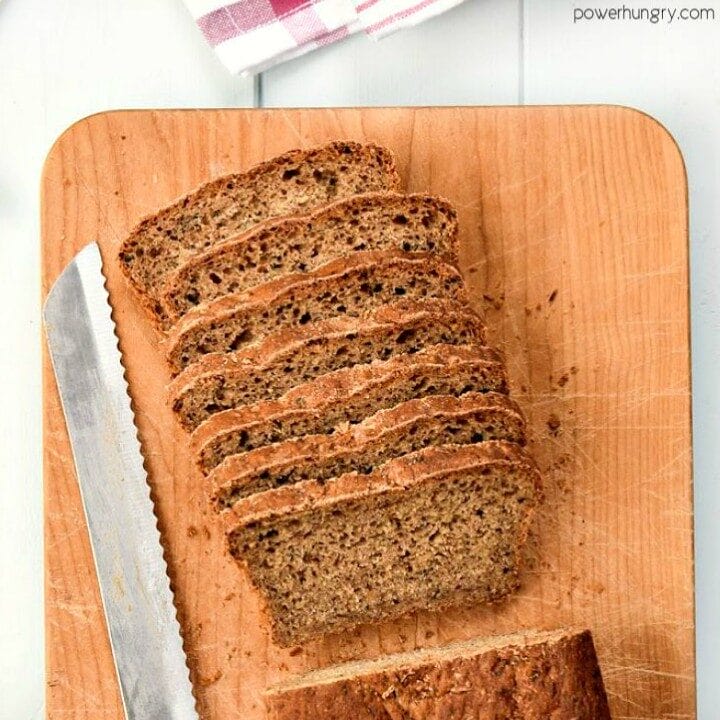
These little loaves are ideal. They are perfection with both sweet and savory toppings or fillings, can be sliced thick or thin, and are packed with wholesome goodness, Best of all, the loaves can be assembled and ready to bake in roughly 3 minutes!
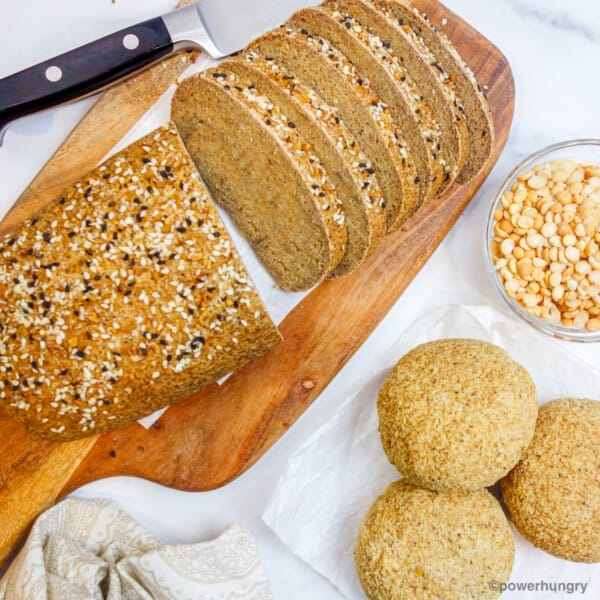
Yes, I am saying loaves, not loaf. This bread batter cannot be baked in a regular 9×5 inch loaf pan (it will rise and fall). Instead, bake the breads in three 5×3-inch mini loaves or in a 12-cup standard muffin tin.
Ingredients
- rolled oats (certified gluten-free, as needed)
- walnuts (see notes for options)
- dark molasses (see notes for options)
- light-colored vinegar or lemon juice
- baking soda
- salt
- whole psyllium husks
You will also need water (I use filtered tap water) and salt (which is always optional or adjustable, according to your needs and preferences).
Step by Step Directions
Note that the complete directions are also in the recipe card below.
- Preheat oven to 375F (190C). Line 3 small (I used 5×3-inch / 12.5×7.5 cm) loaf pans with parchment paper. Alternatively, line 12 standard size muffins cups with paper, foil or silicone lines.
- Place all of the ingredients, except the psyllium husks, into a blender and blend until smooth. Add the psyllium husks and blend just until incorporated.
- Immediately spread batter evenly in prepared pans or muffin cups.
- Bake in the preheated oven for 30 to 35 minutes (for loaves) or 20 to 22 minutes (for muffins) until browned and a toothpick inserted in the center of a loaf or muffin comes out clean.
- Cool in pans set on a cooling rack for 15 minutes. Remove loaves from pans (or muffins from tin) and cool completely.

I wanted this loaf to be savory, with a deep, full flavor similar to a whole wheat yeast loaf (I have in mind one that my mother used to make). I accomplished this with a few tweaks:
- Cut the amount of sweetener
- Use unsulfured blackstrap molasses for the sweetener
- Add flaxseed meal, both for a rich “grain” texture to complement the oats (it also adds extra body and structure; important since these are small loaves instead of muffins).
- Swap in toasted walnuts for the nuts (Walnuts have great umami flavor; adding to the savory goodness of this bread. The toasting is optional, but it adds so much if you have the time).
Mission accomplished!
In parting, dear readers, be brave on this day, the spookiest of the year.
Bake some mini loaves of bread. Eat a slice (or two). Vanquish your fears. Cheers!
More Healthy Bread Recipes to Love:
Chickpea Flour No-Corn Cornbread {vegan, grain-free}
Chickpea Flour Sandwich Bread {vegan, grain-free}
Almond Flour Soda Bread {vegan, oil-free, grain-free}
Chickpea Flour Beer Bread {vegan, 3 ingredients}
Oat Walnut Blender Bread (Vegan, Oil-free, GF)
Easy oat walnut blender bread, made in mini loaves (or muffins). The breads are oil-free, gluten-free, flourless, and 100% delicious.
Ingredients
- 3 cups (270 g) rolled oats (certified gluten-free, as needed)
- 1 cup walnuts, toasted
- 2 tablespoons molasses (see notes for options)
- 2 cups (500 mL) water
- 2 teaspoons light-colored vinegar or lemon juice
- 1 and 1/2 teaspoons baking soda
- 1/2 teaspoon salt
- 1/3 cup whole psyllium husks
Instructions
- Preheat oven to 375F (190C). Line 3 small (I used 5x3-inch / 12.5x7.5 cm) loaf pans with parchment paper. Alternatively, line 12 standard size muffins cups with paper, foil or silicone lines.
- Place all of the ingredients, except the psyllium husks, into a blender and blend until smooth. Add the psyllium husks and blend just until incorporated.
- Immediately spread batter evenly in prepared pans or muffin cups..
- Bake in the preheated oven for 30 to 35 minutes (for loaves) or 20 to 22 minutes (for muffins) until browned and a toothpick inserted in the center of a loaf or muffin comes out clean.
- Cool in pans set on a cooling rack for 15 minutes. Remove loaves from pans and cool completely.
Notes
Sweetener Options: An equal amount of maple syrup, or honey (if not vegan) can be used in place of the molasses. It will result in a lighter-colored bread.
Nuts: Other nuts, such as pecans, almonds or cashews, or seeds, such as pepitas (green pumpkin seeds) or sunflower seed kernels, can be used in place of the walnuts.
Loaf Pan Size: This bread will not work in a regular size (i.e., 9x5-inch) loaf pan; it will collapse. The bread needs to be made in small loaves. If you do not have small loaf pans, bake the bread in muffin tins (cut the baking time by about half).
Storage: Store the cooled bread in an airtight container at room temperature for 2 days, the refrigerator for 1 week or freezer for 6 months.
Nutrition Information
Yield 12 Serving Size 1 sliceAmount Per Serving Calories 159Total Fat 7gSaturated Fat 1gTrans Fat 0gUnsaturated Fat 6gCholesterol 0mgSodium 248mgCarbohydrates 22gFiber 6gSugar 3gProtein 5g
The nutritional information is provided as a courtesy and is an estimate only. This information comes from online calculators. Although powerhungry.com attempts to provide accurate nutritional information, these figures are only estimates. Varying factors such as product types or brands and optional ingredients can change the nutritional information in any given recipe.


delicious recipe. I had to add some more liquid (I did not measure with a scale, I might have overmeasure some of the ingredients). It came out well, really tasty.
Thank you for offering this recipe to all looking to eat a healthier lifestyle.I love this recipe so much I created a new pin for mainstay recipes that are true to their claim.I will be making this in muffin cups to keep on hand weekly.I cut ingredients back to one loaf and substituted one fresh date for the molasses and to my surprise was very successful. I will now be exploring more of your recipes. Love Love Love Thank you
I am so happy that this recipe was such a success for you, Linda! I love the sound of your substitutions.