This post may contain affiliate links. Please read my disclosure and privacy policy.
This post may contain affiliate links. Please read my disclosure and privacy policy.
2-ingredient chia coconut flour tortillas! Fast and easy to make, these soft, flexible tortillas are vegan, oil-free, gluten-free, keto, 4.2 grams protein and 3 grams net carbs each.
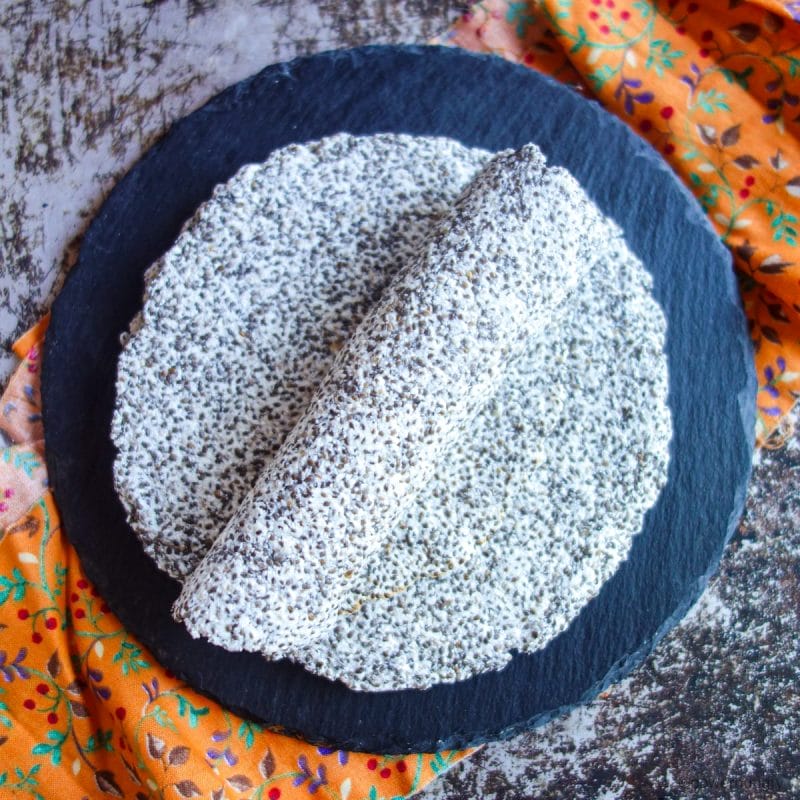
Table of Contents
- Coconut Flour Tortillas without Psyllium
- Chia Coconut Flour Tortilla Benefits
- Ingredients for the Tortillas
- Any Substitutions for Coconut Flour or Chia Seeds?
- How to Make 2-Ingredient Chia Coconut Flour Tortillas
- Step One: Gel the Chia Seeds
- Step Two: Stir in Coconut Flour
- Step Three: Shape and Divide the Dough
- Step Four: Roll Dough Pieces
- What if I Do Not Have a Rolling Pin?
- Tips for Removing Paper from the Tortillas
- Step Five: Cook the Chia Coconut Flour Tortillas
- Step Six: Cool
- Use as you Would Any Tortilla or Flatbread
- Flexible Chia Tortillas that Fold & Flex
- Storage
- Related Posts
- Chia Coconut Flour Tortillas (2 ingredients, V, G, Oil-free) Recipe
Coconut Flour Tortillas without Psyllium
One of the most popular recipes on my site is my 2-Ingredient Coconut Flour Tortillas. It is exciting when a recipe I love and make all the time is a hit with all of you, too.
Many of you have written to ask if the recipe can be made without psyllium husks. Alas, no. Specifically, other ingredients, such as flaxseed meal or chia seeds, cannot be used as direct substitutes in the recipe.
So…I developed a brand new recipe.
Introducing my equally delicious, filling, tender and super-flexible 2-Ingredient Chia Coconut Flour Tortillas!
Chia Coconut Flour Tortilla Benefits
These simple-to-make (and frankly, almost magical–how can chia seeds do what they do??) tortillas are all of the following:
- Vegan (no eggs, no dairy)
- Oil-free
- Gluten-free
- Grain-free
- Paleo
- Keto
- 4.2 grams Proten
- High Fiber (8 grams per tortilla)
- Low-carb (3 grams net carbs per tortilla)
- Nut-free
Ingredients for the Tortillas
The exact amounts of each ingredient are indicated in the recipe card at the end of the post.
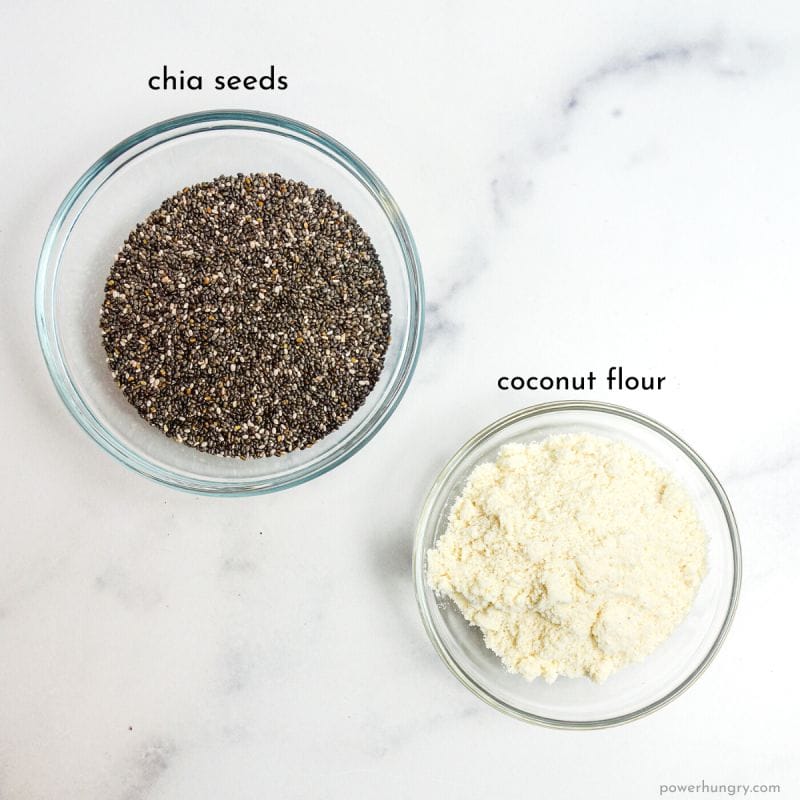
Making these these tortillas requires nothing more than coconut flour and chia seeds, plus some water to make the dough. I use filtered tap water. Add some salt, too, if you like. iDoing so is entirely optional/adjustable.
Any Substitutions for Coconut Flour or Chia Seeds?
No, this particular recipe will only work with coconut flour and chia seeds.
If you cannot have coconut or chia, or do not have one, or both, of the ingredients on hand, do not despair! You will find a wealth of other, equally easy, tasty and nutritious tortillas recipes on my site. See link to some of the recipe just above the recipe card, below, or type “tortilla” into the search box.
How to Make 2-Ingredient Chia Coconut Flour Tortillas
Note that the complete directions are also in the recipe card below.
Step One: Gel the Chia Seeds
Place the chia seeds in a medium bowl. Add the water, stirring to combine.
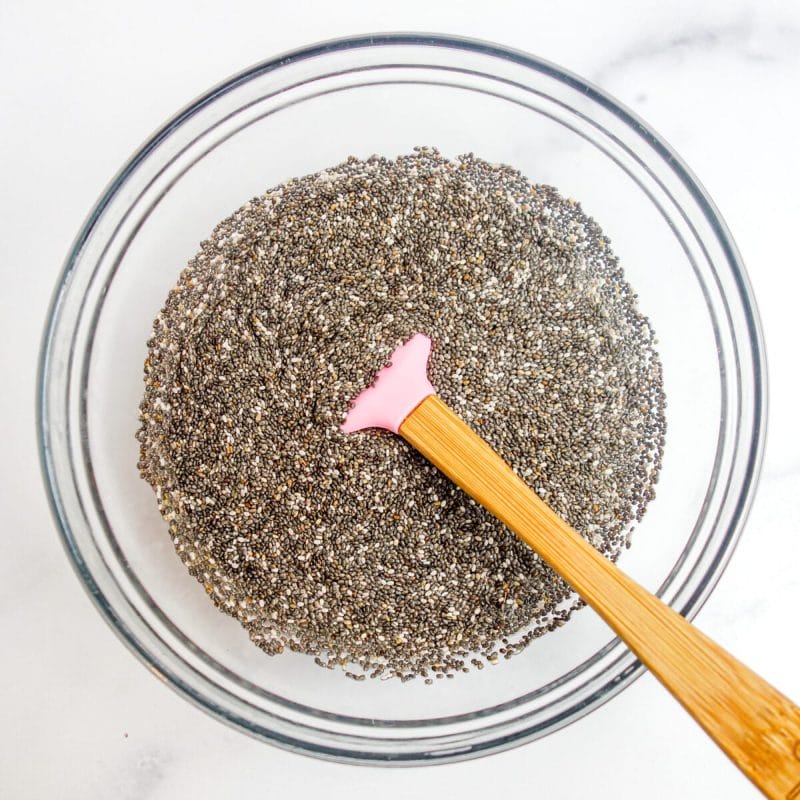
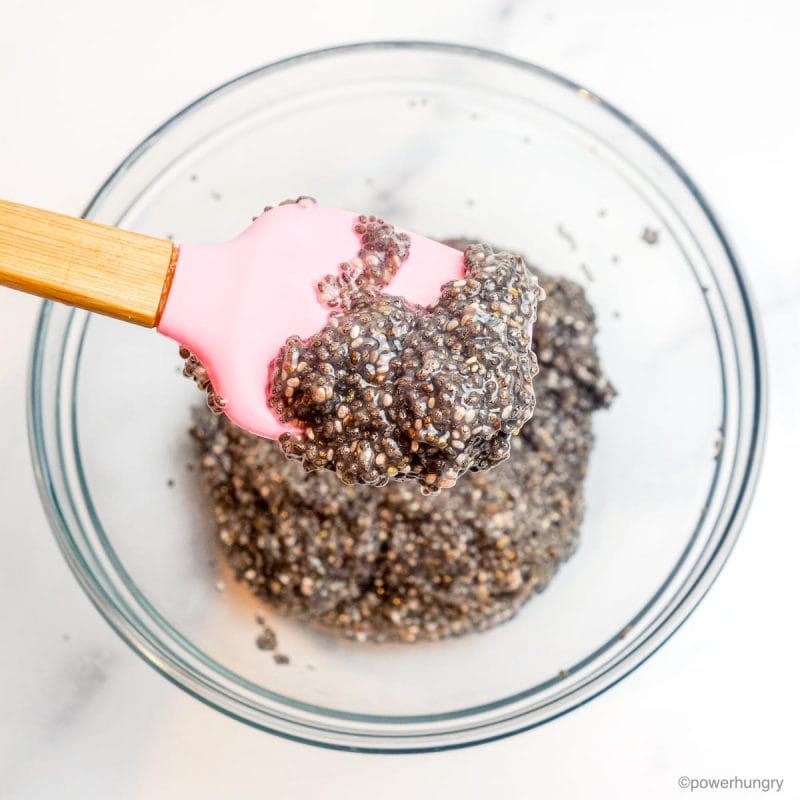
Allow the chia seed mixture to stand for fifteen to twenty minutes until a thick gel forms. Give the gel a stir.
Step Two: Stir in Coconut Flour
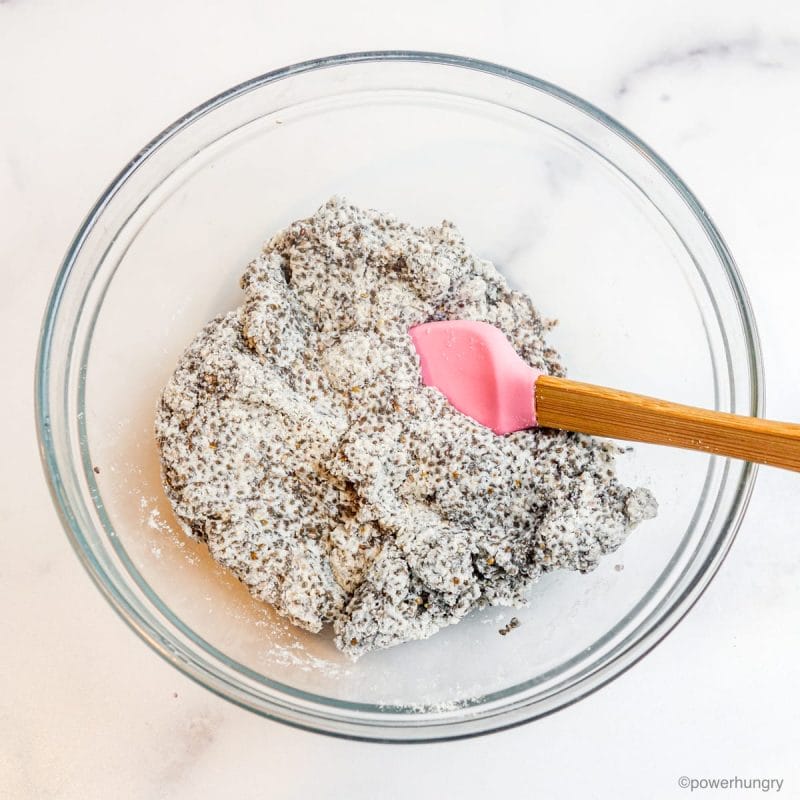
Add the coconut flour (and optional salt) to the bowl with the chia seed gel. Stir until completely combined into a dough.
I like to get my hands into the bowl to mix and knead in all of the coconut flour. It only takes about a minute to incorporate the flour. The result is a soft, slightly moist dough.
Step Three: Shape and Divide the Dough
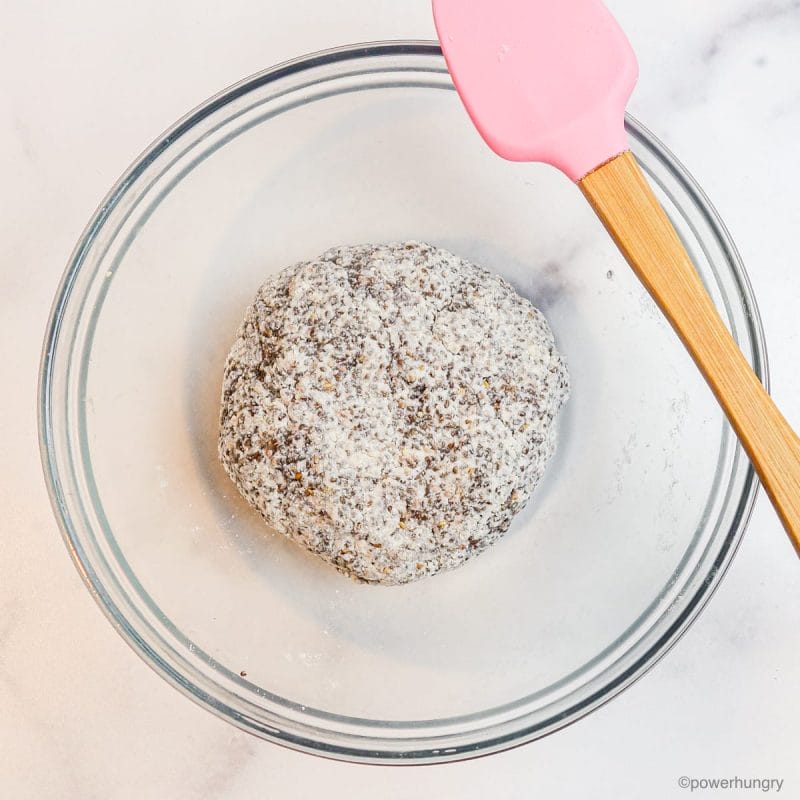
Use your hands to shape the dough into an even ball. Place it back into the bowl.
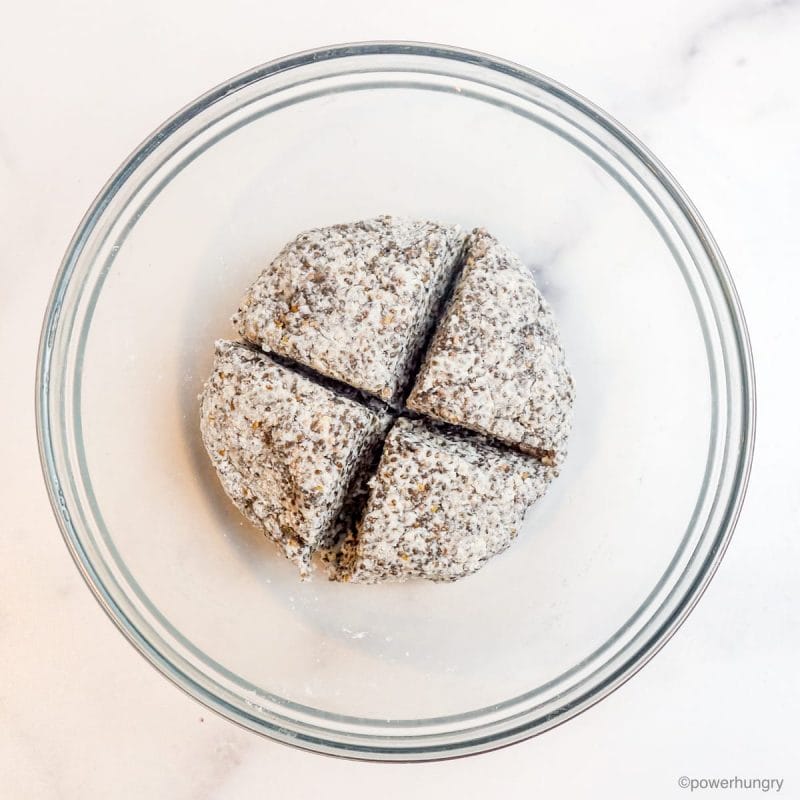
Using a pastry cutter or knife, cut the dough into 4 equal pieces, like so:
Step Four: Roll Dough Pieces
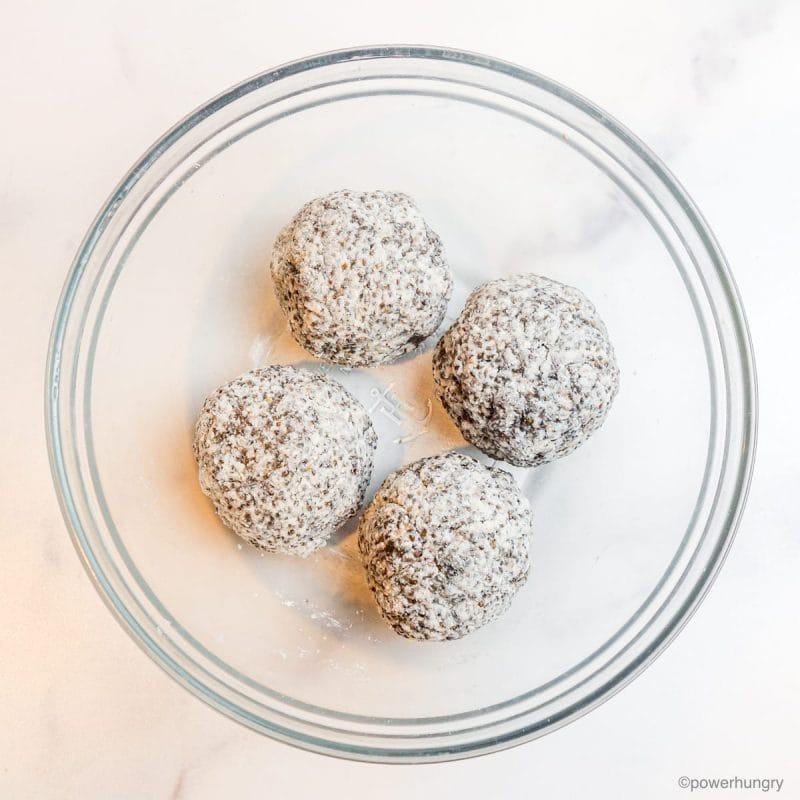
Roll each piece into a ball. It is very easy to manipulate the dough, so this step is quick and easy.
Next, place one of the balls between two sheets of plastic wrap (or place inside a a gallon size zip-top plastic bag). You can also use parchment paper, but plastic wrap (or a plastic bag) works the best (I save and re-use it).
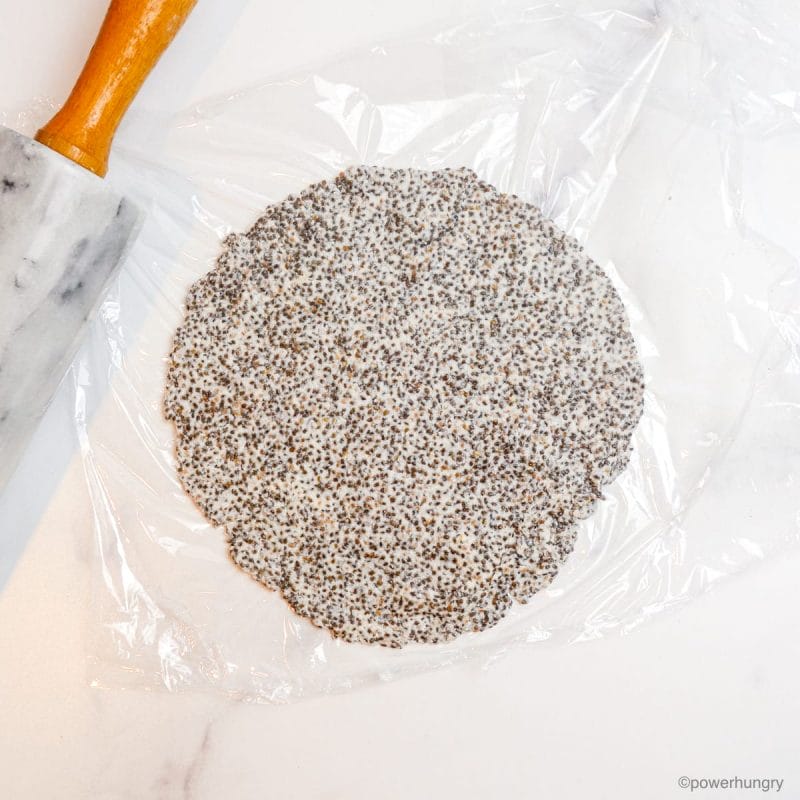
Using a rolling pin, roll the dough into a circle that measures 6-inches (15 cm) across. It does not need to be perfect! If the circle is out of whack, just pinch off pieces of dough from one place and patch into another, as needed.
What if I Do Not Have a Rolling Pin?
A tortilla press makes extra-fast and easy work of rolling out the tortillas. Use plastic wrap (or one of the other options mentioned above) to prevent sticking.
A wine bottle or can will work in place of a rolling pin, too. In a pinch, your hands can get the job done, too. Press the dough into a rough circle (do still place the dough between plastic layers). Use your palm to even out and smooth the tortillas.
Tips for Removing Paper from the Tortillas
If you opt for using paper over plastic, your tortilla dough may stick a little bit. Once the tortilla is rolled out, carefully peel off the top layer of paper. If a few pieces of dough stick to the paper, simply repress them into the tortilla.
The dough becomes stickier as it gets warmer, so if the paper is really sticking, place the tortilla (in its paper) in the freezer for 3 or 4 minutes (not much longer). The tortilla will come off with ease!
Step Five: Cook the Chia Coconut Flour Tortillas
Carefully peel off the top piece of plastic wrap from one tortillas. Place the tortilla, dough side down, into the skillet and peel off the remaining piece of plastic. Turn the heat under the pan to medium.
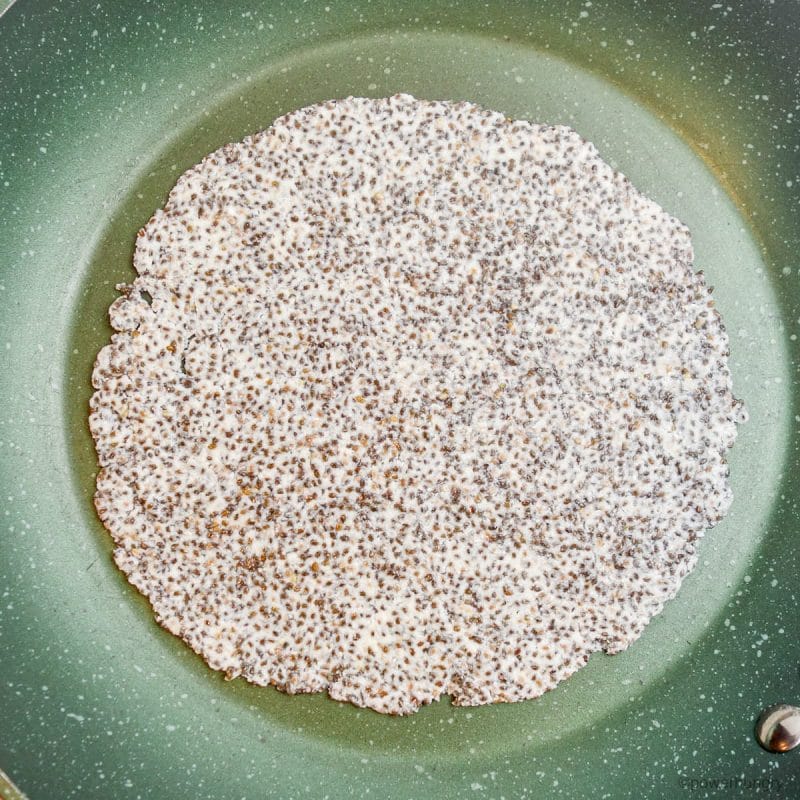
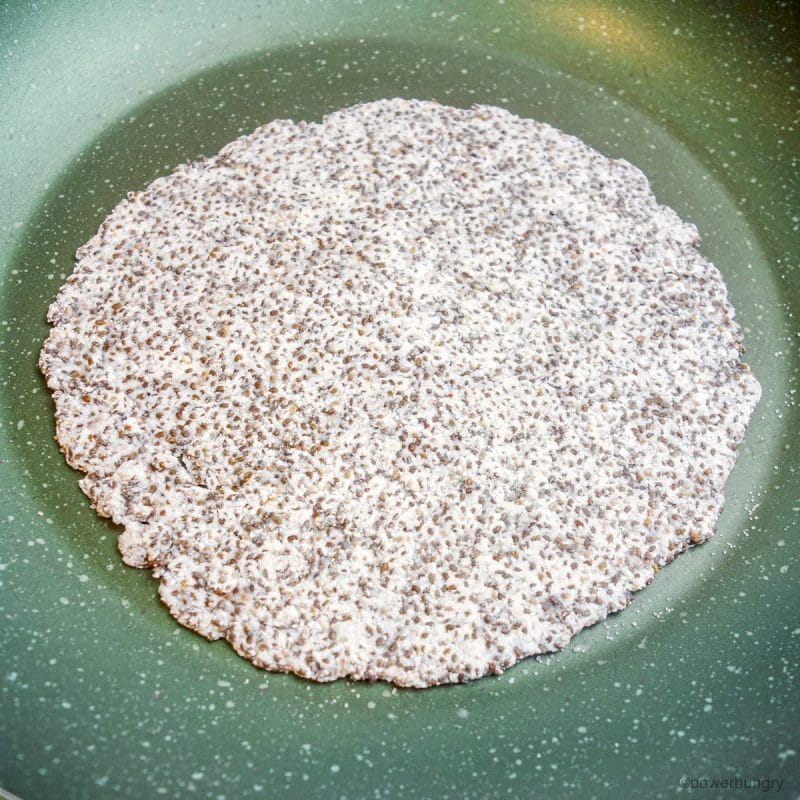
Cook the tortilla for one to two minutes until the bottom side becomes dry. It is dry if you can move the tortilla around the pan with ease. Slide a spatula underneath and flip it over. Cook for one to two minutes longer until the other side appears dried.
Step Six: Cool
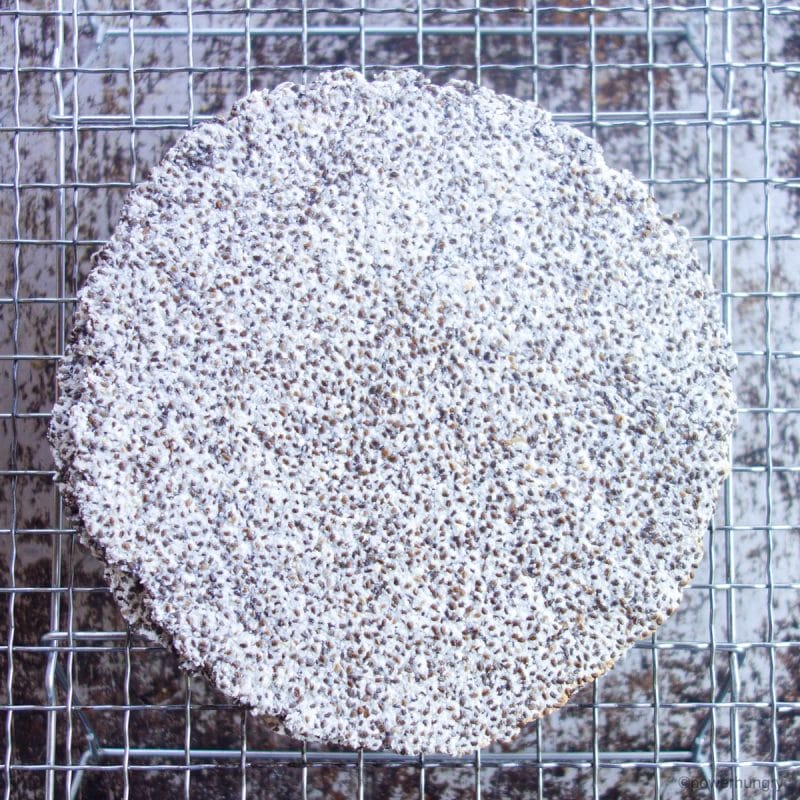
Transfer the tortilla to a cooling rack to cool and repeat with the remaining pieces of dough.
In an unusual twist, the tortillas get whiter as they dry/cook.
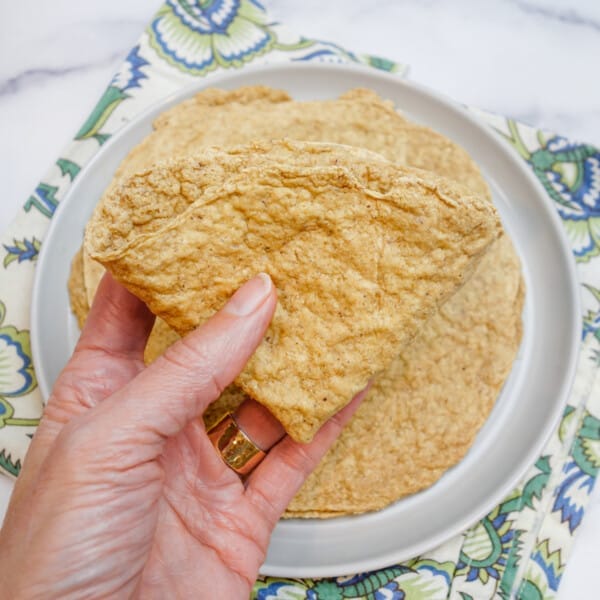
Polka dot tortillas? Dalmation tortillas? They are soft, flexible and amazing.
Use as you Would Any Tortilla or Flatbread
Use chia coconut flour tortillas for all of your Tex-Mex favorites, such as enchiladas, tacos, burritos, quesadillas, or for scooping up beans, salsa, guacamole, and vegetables.
Or use the tortillas for flatbread replacement (e.g., naan), sandwiches, wraps, snacks, and so much more. I love them plain, too, warm or cold, or (forgive me, tortilla purists), with a schmear of peanut butter and sprinkle of raisins.
Can I Make These Tortilla Without the Coconut Flour?
No, not for this particular recipe. But check out my 1-Ingredient Chia Flatbreads for an equally wonderful chia alternative.
Flexible Chia Tortillas that Fold & Flex
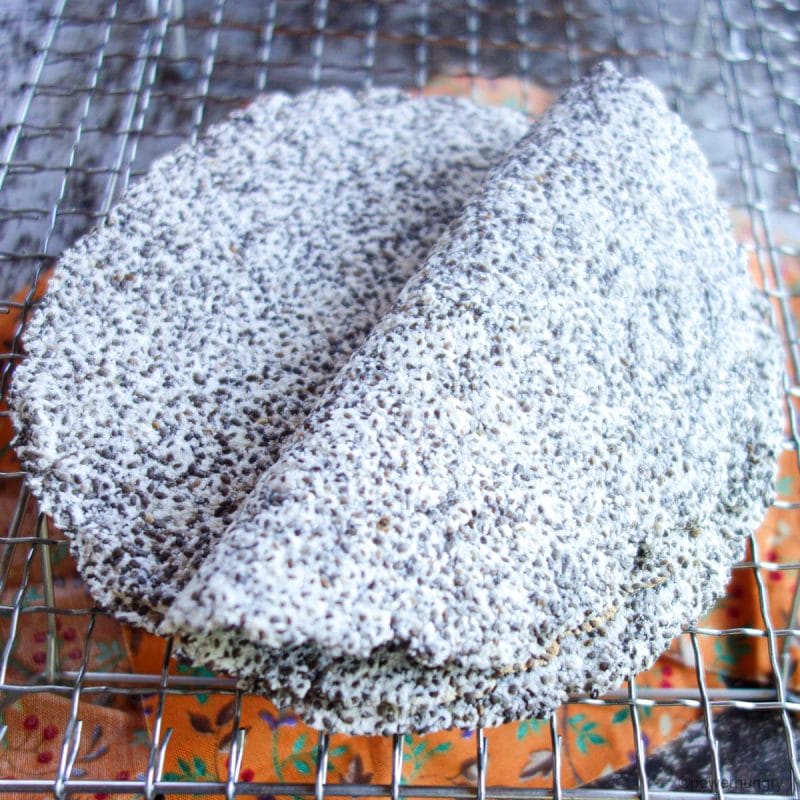
Chia coconut flour tortillas are soft and tender, but not delicate (no falling apart!). You can fold them in half:
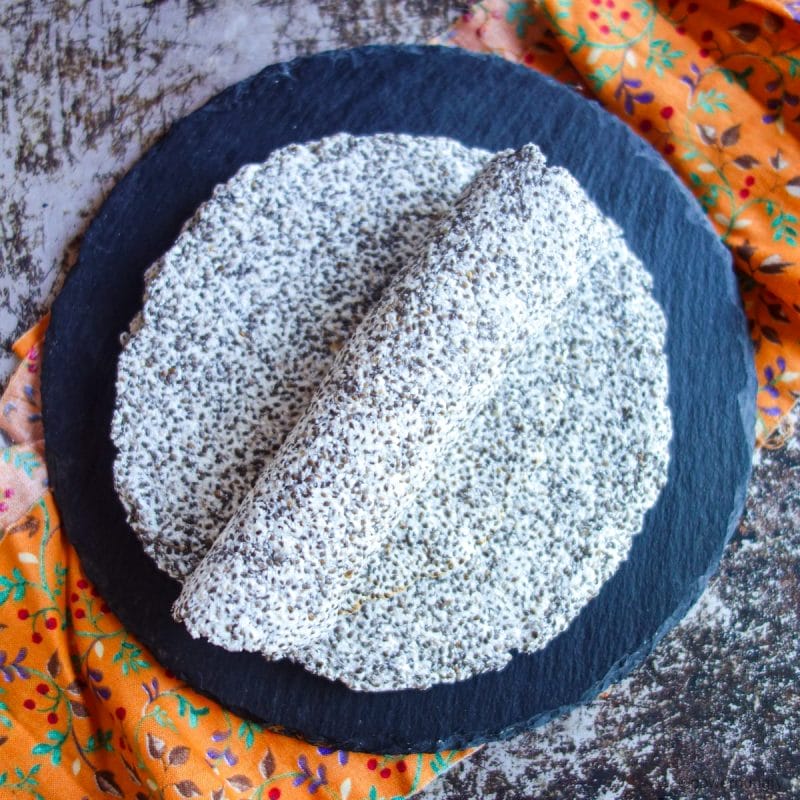
Roll them up:
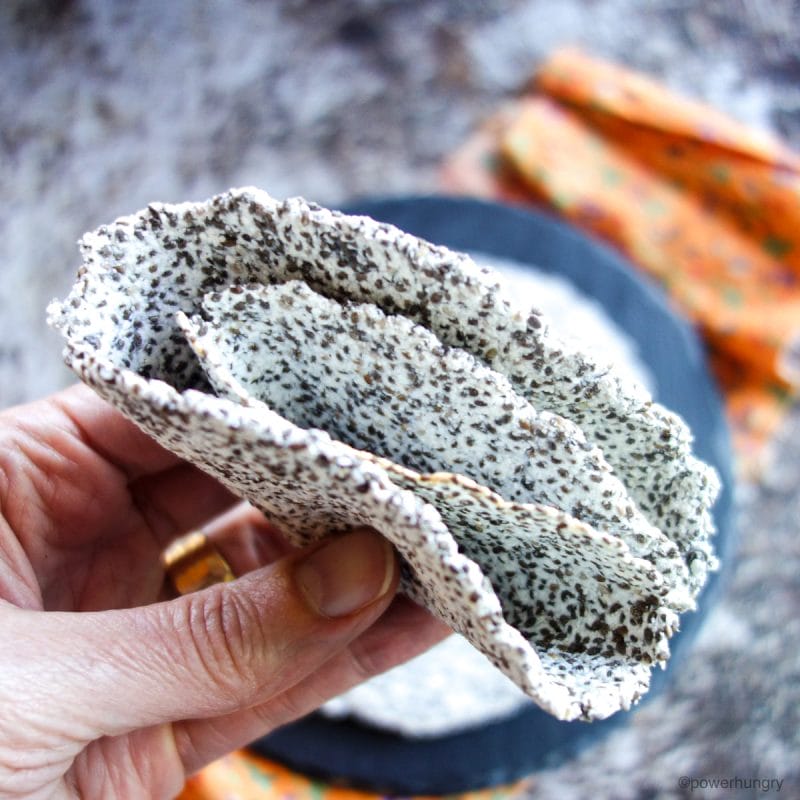
Or fold into quarters:
Storage
Store the cooled tortillas in an airtight container at cool room temperature for 2 days, the refrigerator for 2 weeks or the freezer for up to 6 months.
Enjoy these tasty tortillas, friends. Please be sure to rate to rate them and tag me if you give them a try!
Happy eating!
Related Posts
Chia Coconut Flour Tortillas (2 ingredients, V, G, Oil-free)
2-ingredient chia coconut flour tortillas! Soft & flexible, they are vegan, oil-free, GF, keto, easy, only 105 calories & 5 g net carbs.
Ingredients
- 1/3 cup (69 g) chia seeds
- 2/3 cup (158 mL) water
- 1/4 cup (28 g) coconut flour
- Optional: 1/8 teaspoon salt
Instructions
- In a medium bowl, stir together the chia seeds and water. Let stand for 15 to 20 minutes until it is a thick gel. Stir to loosen the gel.
- Add the coconut flour (and optional salt) to the chia gel. Stir until completely combined (use clean hands to knead it in).
- Shape the dough into an even ball. Cut into 4 equal pieces. Roll each piece into a ball.
- Place one dough ball between two large pieces of plastic wrap. Using a rolling pin, roll dough into a 6-inch (15 cm) circle (see notes for rolling options). Carefully peel off top layer of plastic wrap.
- Place tortilla, dough side down, into a medium to large nonstick skillet and carefully peel off second piece of plastic. Turn the heat under the skillet to medium.
- Cook the tortilla for 1 to 3 minutes until the bottom side is dry (the tortilla can be moved around easily once the bottom side is dried). Flip the tortilla and cook the other side for 1 to 2 minutes longer until dried on other side.
- Transfer tortilla to a metal cooling rack and repeat with remaining pieces of dough. The tortillas are delicious warm, room temperature, or cold.
Notes
Storage: Store the cooled tortillas in an airtight container at cool room temperature for 2 days, the refrigerator for 2 weeks or the freezer for up to 6 months.
Other Methods for Rolling Tortillas: A tortilla press makes extra-fast and easy work of rolling out the tortillas. Use plastic wrap (or one of the other options mentioned above) to prevent sticking. A wine bottle or can will work in place of a rolling pin, too. In a pinch, your hands can get the job done, too. Press the dough into a rough circle (do still place the dough between plastic layers). Use your palm to even out and smooth the tortillas.
Nutrition Information
Yield 4 Serving Size 1Amount Per Serving Calories 110Total Fat 6.1gSaturated Fat 1gTrans Fat 0gUnsaturated Fat 4gCholesterol 0mgSodium 3mgCarbohydrates 11gNet Carbohydrates 3gFiber 8gSugar 0gProtein 4.2g
The nutritional information is provided as a courtesy and is an estimate only. This information comes from online calculators. Although powerhungry.com attempts to provide accurate nutritional information, these figures are only estimates. Varying factors such as product types or brands and optional ingredients can change the nutritional information in any given recipe.



I just tried this and loved the flavor but I had one small problem. My tortillas fell apart and were crumbly. It could be because I didn’t use the cold pan so I will try it again the correct way. And maybe the dough was too moist.
Hi Deb,
Oh no, I am so sorry that the tortillas crumbled. I am thinking it is more likely the moisture issue–the chia seeds should hold the tortillas together pretty firmly, even before they are cooked. Was the chia mixture firmly well-gelled before adding the coconut flour?
Also do you start them on a cold pan?
Yes. I place the tortilla in the pan, peel off the top piece of parchment/wrap that I rolled them out on (avoiding scorched fingers with the cold pan). Then turn the heat to medium to cook. I rinse the pan in cold water in between to repeat 🙂
Camilla, I love these tortillas! I have made many of the tortillas on your site but these are my fav. So delicious, easy, pretty and versatile. They bed and roll so well and are delicious hot and cold. THANK YOU!!!
Hi Susan, yes! But it is important to use a pan that is nonstick in some capacity. A nonstick pan marked as “nonstick” or a well-seasoned cast iron pan 🙂
Camilla, you have done it again! These tortillas are easy and delicious and have so few ingredients! They were perfect for stacked tacos.
I have been soaking nuts, seeds and grains more lately so I soaked the chia seeds for 24 hours…didn’t really expect it to work, but it worked great.
Thank you for all your hard work and for sharing!
June
Ooh, thanks for sharing your soaking tip, June! That is great to know. So pleased to get the June seal approval for these! ?
I love these and make them over and over. the trick is not to be in a hurry and let the pan cool between each tortilla.
So glad you like hem Maureen! And thank you for sharing your tip!
I love these! They are my new favorite tortilla recipe!!!! They are so easy, delicious, and pretty, too (my little ones love them–they are now the “polka dot tortillas” in our house). I don’t know how you come up with these brilliant ideas, thank you so much. Keep it up!
I am so glad that you (and your kiddos) like them, Amelia! Thank you, too, for the very kind words.
The only challenge of this recipe is getting the tortilla off the plastic wrap without touching the hot pan.Next time I will try a silicone sheet on the bottom at least. On a positive note, the plastic tortillas keep longer!
@Bruce ? yes, preserved for eternity! I am able to peel place the exposed side of the raw tortilla in my hand and peel of the plastic, then invert into pan. If it is too sticky, lightly dust the exposed side with coconut flour. I hope this helps!
Thank you for the great recipe. Do you think it will also work with the same amount of grounded chia seeds?
Hi Pilo,
yes, they should work perfectly with an equal weight go ground chia seeds 🙂
These are perfection! Came out just like your photos. Thank you, Camilla!!!
I am so glad your tried them, and like them, Nell!
@Camilla,
absolutely the best homemade tortillas ive made, hands down! They are really cute (as you mention, polka dots!), too. Thanks for another great recipe.